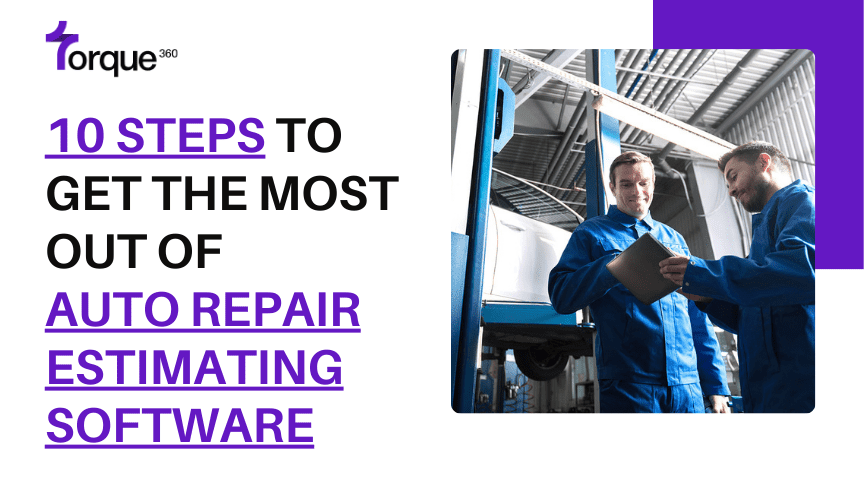
For auto repair shop owners, ensuring precise daily estimates is essential.
Most in the industry would nod in agreement that having a straightforward method for this task is highly beneficial. Numerous software systems claim to offer just that.
However, when it comes to adopting auto repair estimating software, many shop owners encounter challenges, such as employees resisting or hesitating to use certain (often vital) features.
To address these concerns, here are the top 10 tips to maximize the effectiveness of your estimating software in your shop and ensure that your teams are fully and correctly utilizing it.
Step 1: Assess Your Business Needs
You have decided that you will use estimating software in your auto repair shop.
Your team needs to learn about it and include it in their tasks. Explain to them why it’s a good idea, like the money we expect to save and the improvements in our work.
If you’re thinking about borrowing money for this and want to be detailed, calculate the software’s NPV (net present value).
Step 2: Research and Compare Auto Repair Estimating Software Options
Conduct Market Research:
- Investigate the diverse range of auto repair software solutions in the market.
- Consider both newer entrants and well-established providers.
Identify Some Key Players:
- Recognize reputable companies with a track record of providing reliable auto repair shop software.
- Explore their websites, product offerings, and customer testimonials.
Industry-Specific Solutions:
- Look for auto repair software specifically designed for your type of business, considering factors like size and specialization.
Evaluate Feature Sets:
- Scrutinize the features offered by each software solution.
- Prioritize those functionalities and features that align with your business needs.
Scalability:
- Assess whether the software can scale with your business growth.
- Ensure it accommodates an increasing workload and additional users.


Step 3: Kick off the project
Set up the team that will help with training and launching the new system. Decide who will do what and make any changes needed because of the new system. Answer any questions the team has and share any useful info you got during the sales process. Make a plan for putting the software in place and let everyone know about the deadlines.
Step 4: Configure the system:
Automotive repair estimating software sometimes needs changes to fit how your team works. This could involve connecting it with other software you use or adding special features, which might take some time. In some cases, the software can’t be changed much, so your business operations might need to adapt to fit the software and its benefits.
Step 5: Follow the Steps of the change management principles:
These principles help coordinate and carry out team and project changes. Since change can be tough for many staff members, check out our blog on managing staff through change for more tips in our e-commerce blog.
Step 6: User Training and Onboarding
Most companies that give auto repair estimating software will teach the main person handling the system. Then that person becomes the expert and then he teaches others in the shop as needed. If you want to train all staff involved at once, check with the software provider for their training programs. They usually have training documents you can use as a reference. If there are specific instructions for staff who don’t use the system often, creating training procedures or documents that match how you want things done is a good start for consistent system use.
Step 7: Conduct User Acceptance Testing (UAT):
This is an important step to make sure the estimating software does what it’s supposed to do. We want to catch any glitches or bugs (yes, software can have hiccups). So, we test a small bit of data to see if the software handles everything correctly. If it works with other software or markets, we make sure they’re talking to each other properly.
Step 8: Coordinate Cut-over
When you’re ready to start using the new software, it’s a good idea to keep the old system’s info handy while the new one gets going. For a little while, you might use both systems, depending on how you’re introducing the new software. It can take 6-12 months for everyone to get used to the new software, and you might still need the old info, especially if you sell things online and deal with returns or warranties.
Step 9: Plan for Go-live:
It’s smart to start using the new system when things are not super busy. If your shop is always busy, plan to handle any issues. Make sure the team is ready to work with the software provider when you go live. Check some random data to make sure everything is moving and working as it should.
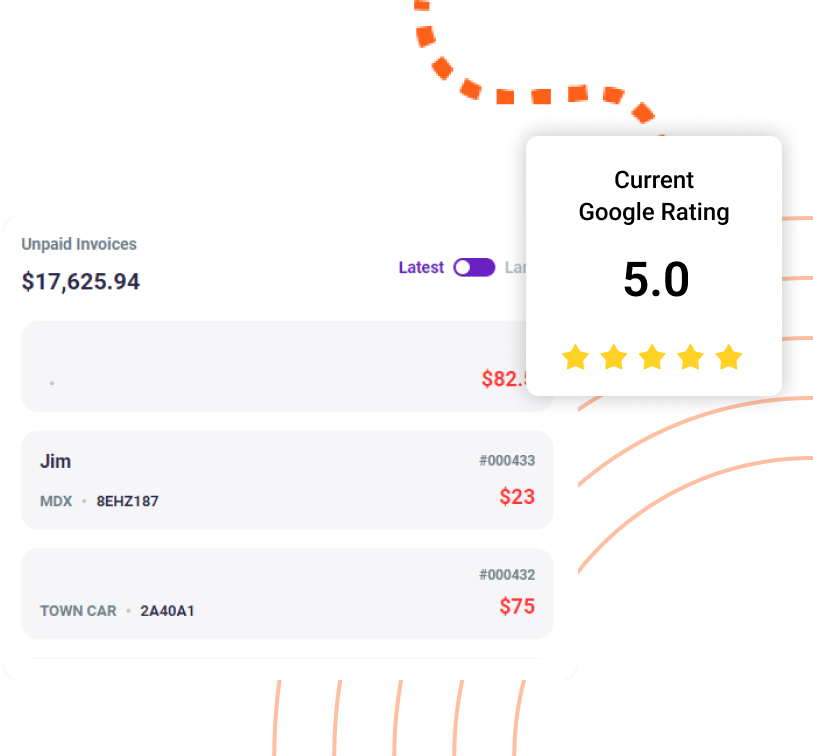
Step 10: Use Analytics and Reporting Tools
When you set up a new system, it’s important to see how things were before and after to understand the changes. Figure out what signs will show that the new system is working well. This could be handling more orders each day, spending less on overtime wages, or other improvements. It’s also great to see the positive results and remember the progress you’ve made in growing your business.
Conclusion:
It is evident that the path to efficiency and success in your auto repair shop lies in strategic implementation and team collaboration. The tips provided ranged from fostering a culture of training and support to embracing regular updates and user feedback. This underscores the importance of a holistic approach to software utilization.