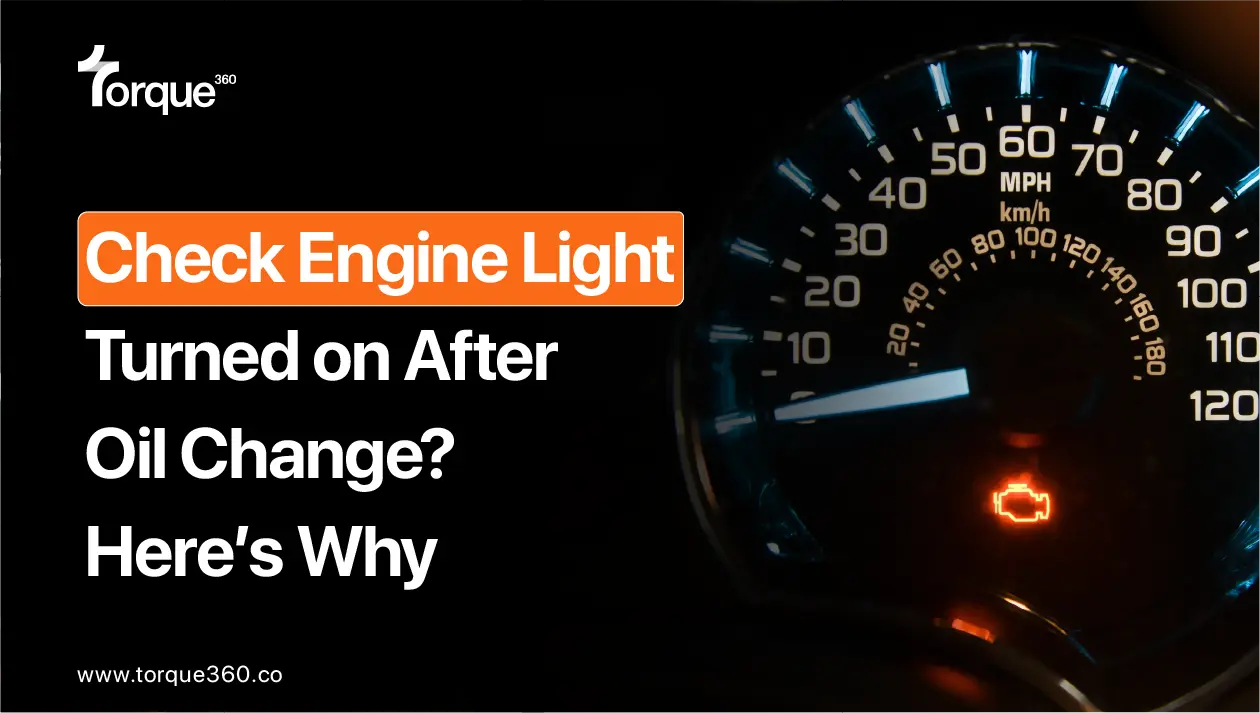
Oil changes are a regular part of car maintenance. They’re usually quick, simple, and go smoothly without any problems.
But sometimes, after an oil change, you might notice the check engine light comes on. While this can be a surprise, it’s pretty common.
There are a few reasons why this might happen, and the good news is that most of them are easy to fix. The important thing is to take care of it right away so that your engine stays in good shape.
Let’s take a closer look at why the check engine light might come on after an oil change and what you can do to solve it.
Want to grow your business? Book a personalized demo now
Reasons why Check Engine Light On After an Oil Change
1. Oil Fill Cap Not Tight or Incorrectly Placed
3. Wrong Oil Type or Viscosity
7. Other Potential underlying Problems
1. Oil Fill Cap Not Tight or Incorrectly Placed
The oil fill cap is important because it helps keep the right pressure inside the engine and stops dirt from getting in.
If the cap isn’t screwed on tightly or isn’t in the right place, it can cause a vacuum leak. If this happens, you might see the check engine light, and your car could feel like it’s not running right. You might notice things like the engine misfiring, losing power, or using more gas than usual.
How to Fix It?
The good news is that fixing it is easy—just make sure the cap is on tight and in the right spot.
A study shows that only 36.1% of people take their car to the mechanic within the first week of the check engine light turning on.
2. Resetting the Sensor
Sometimes, during an oil change, the car’s sensors or electrical parts can get unbalanced, which might cause the check engine light to turn on.
Try driving the car for a few miles to see if the light goes off by itself. If it doesn’t, there could be another problem to check.
How to Fix it?
If the check engine light remains on after driving a few miles, it’s recommended to have the car diagnosed for potential issues.
3. Wrong Oil Type or Viscosity
Oils come in different types, thicknesses, and levels of viscosity. Using the wrong kind of oil can hurt your car’s performance and might even damage the engine. It could also turn on the check engine light. If you hear weird noises, notice a loss of power, or see an oil leak, check your car’s manual to make sure you’re using the right oil.
In addition, while driving if you hear a strange noise, check out here to help you figure out what’s going on under the hood.
How to Fix it?
There’s no real way to test the oil type. So, consult your car’s oil change technician to ensure you’re using the correct oil type and viscosity, and if necessary, drain the incorrect oil and replace it with the recommended one.
4. Faulty Oil Pressure Sensor
Today’s cars have sensors that check the oil levels and pressure. Sometimes, these sensors can make mistakes and send wrong information to the car’s computer after an oil change.
This could cause strange noises, less engine power, and turn on the check engine light. You can use a diagnostic scanner to look for any problems with the oil pressure sensor.
Auto repair shops, use auto repair shop management software to streamline the diagnostic process. With tools like OBD code readers integrated directly into the software, mechanics can easily access error codes and gain insights into sensor issues. This not only speeds up the process but also helps ensure accurate diagnostics and quicker repairs.
How to Fix it?
To fix this issue, use an OBD2 scanner to check for faults in the oil pressure sensor, and if it’s malfunctioning, replace it with a new one.
Want a suitable OBD2 scanner for your shop? Here’s the complete guide on “Top OBD2 Scanners for Auto Repair Shops.”
5. Blocked Oil Filter
If the oil filter gets clogged or isn’t installed correctly, it can block the oil from flowing properly. When this happens, you might hear strange engine noises, notice the car isn’t performing well, or see the oil pressure warning light turn on.
How to Fix it?
To fix this, replace the oil filter regularly, and make sure it’s installed and tightened correctly. Also, always use the right oil filter for your car’s make and model when changing the oil.
6. Intake System Air Leakage
During an oil change, some parts of the intake system might accidentally get disconnected or damaged, which can cause air leaks. This can make the check engine light turn on, and you might notice a rough idle or less engine power.
How to Fix it?
Check the intake system carefully for any loose connections or broken hoses, and fix or replace them if needed.
7. Other Potential Underlying Problems
Sometimes, the check engine light can mean there’s a bigger problem, like a broken mass air flow sensor, issues with the catalytic converter, or problems with the transmission.
For example, if dirt or the wrong fluid gets into the transmission, it can mess up the transmission fluid.
How to Fix it?
Changing the fluid and flushing the system might fix it, but if there’s damage inside, more serious repairs might be needed.
Early Warning Signs to Look Out For
The check engine light isn’t the only sign that something might be wrong with your car.
Be on the lookout for these other warning signs:
Oil Pressure Indicator Light
Many people think the oil change light on the dashboard is just a reminder to change the oil, but it shows up when the oil temperature is too high or the oil level is too low.
It can also mean the oil pressure is too low, which means the engine isn’t getting enough oil to work properly.
If you don’t fix this soon, it can cause the engine to overheat, get damaged, or cause other serious problems.
Strange Engine Sounds
Any strange sounds like knocking, ticking, or grinding are the engine’s way of saying something’s wrong. Knocking or pinging sounds could mean the fuel is bad or the timing of the spark plugs is off.
Ticking might mean the oil is low, or a part called a lifter is failing. Grinding sounds usually happen when the bearings are worn out.
Decreased Engine Performance
Loss of power, slow acceleration, or trouble starting the engine could mean something’s wrong. It might be something simple, like broken spark plugs, a clogged air filter, or a bad fuel injector.
But if the engine completely stops after an oil change, that’s a bigger problem. It could be because the engine didn’t get enough oil or the wrong kind of oil was used, which could lead to serious engine damage.
Oil Leakage
Seeing oil leaks is a clear sign something’s wrong. Different car fluids have different colors and textures, so it’s usually easy to tell oil apart.
Oil is usually brown, caramel, or amber, while other fluids like coolant or transmission fluid look different. The important thing is that leaks can cause low oil pressure and serious engine damage if you don’t fix them quickly.
Fluctuations in Fuel Efficiency
If your car is using more fuel than usual, that could be a sign something’s wrong. Common causes could be a dirty air filter, issues with the fuel system, or tires that are too high or too low on air. If you catch these problems early, they’re usually easy to fix.
FAQs:
Several factors can trigger the check engine light on an oil change. Common causes include using the wrong oil type or quantity, a loose or damaged oil cap, faulty oil filter, oil leaks, low oil level, or issues with the oil pressure. It’s essential to diagnose the specific problem to address it correctly.
The duration for the check engine light to reset after an oil change can vary. In some cases, it may turn off immediately after correcting the issue. However, it can take a few days of normal driving cycles for the light to reset. If it persists, it may indicate an unresolved problem.
You can often reset the check engine light by disconnecting the vehicle’s battery for a few minutes or using an OBD-II scanner. However, it’s crucial to diagnose and address the underlying issue first. Resetting the light without resolving the problem may lead to its recurrence.
Yes, overfilling the engine with oil can cause the check engine light to come on. It can lead to excessive pressure within the engine, resulting in oil leaks, foaming, and potential damage. It’s important to use the recommended oil quantity specified in your vehicle’s manual to prevent this issue.
Conclusion:
Seeing the check engine light after an oil change can be a little scary, but most of the time it’s an easy fix. It could be something simple like a loose oil cap, a problem with the oil sensor, or forgetting to reset the oil change reminder. Treat the check engine light as a chance to catch small problems early and stop bigger issues from happening later.
To make your work more efficient, it would be best to use digital tools. You can take your auto repair business to the next level with good auto repair management software. Torque 360 offers all-round automotive management software as well. It includes many features such as scheduling, invoicing, estimating, digital vehicle inspection, repair order management, a technician portal, POS integration, and marketing solutions.


